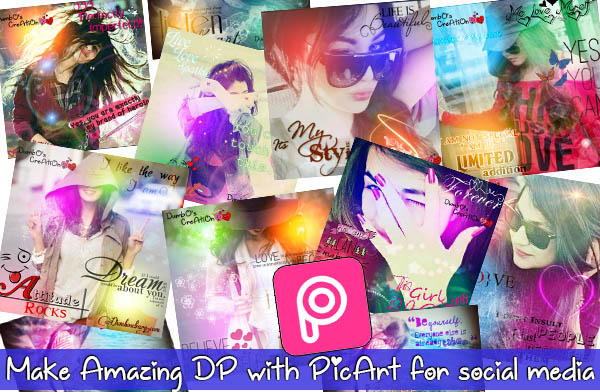
PicsArt is an awesome app for all lovers of photo editing. It’s more than just a photo editor because of many tools and options. This app also offers an option of joining a community where users can share their all edited stuff. Users can also explore and comment other users work. It’s a fantastic social network for all the photo editing lovers. Today, I’m sharing PicsArt Photo editing tutorial for all those who love to stylize their DPs for social media.
PicsArt allows their users to use a huge variety of brushes, texts, masks, frames, filters or clipart. If this stuff in not enough for you, then in the community many users upload brushes, frames, effects etc. you can use those. It’s the best app for photo editing, college photo or draw.
PicsArt Photo editing tutorial: Make amazing DP for social media
Let’s review the PicsArt photo editing tutorial about making DP for social media. I’m sharing here step by step with the help of images.
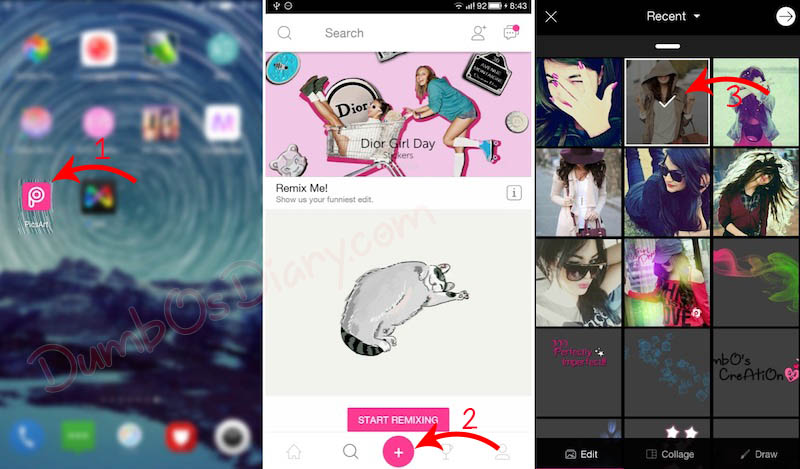
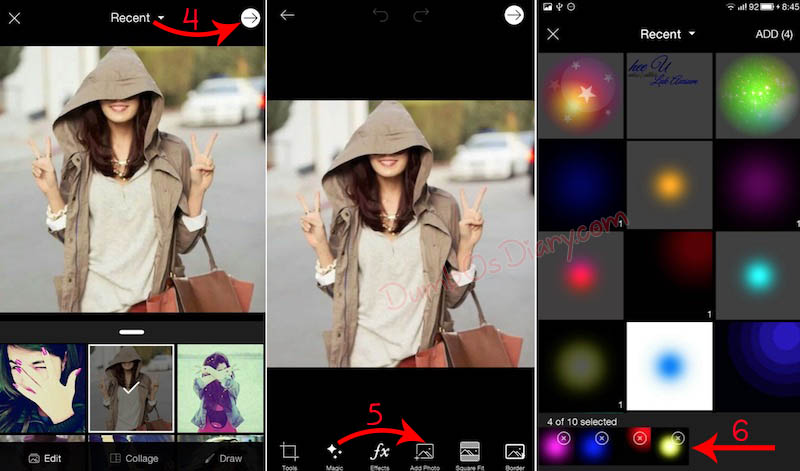
- First of all, download the PicsArt from the Google play store. Open the app and select the image you want to edit. Here I chose an image of a model that I’m going to edit. You can download images to use as DP from here, DP for social media.
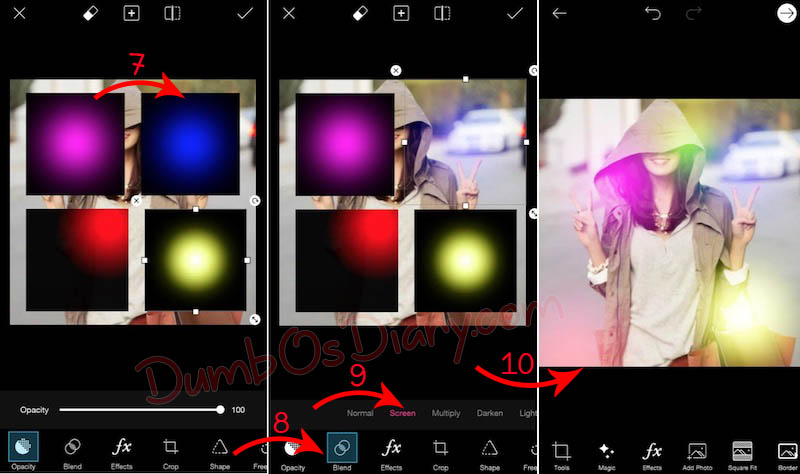
- Now click Add Photos. And select some Glow effects in PNG form. I chose four different colors images (Magenta, Blue, Red, Yellow) of glowing effects. You can download some glow effects from here, Download. You can also add fancy glowing effects to your photo. It gives a bit stylish look to the image. You can download a few Fancy glowing effects from here.
- Select anyone glowing image, I selected blue. Then go to Blend option and select Screen. Do same with rest of the images. You will get the effects same as I shown in step 10.
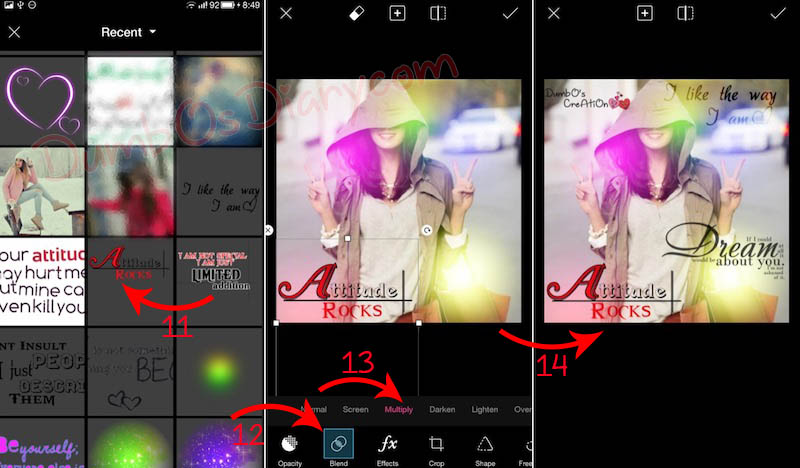
- You can also add some texts (Attitude, Love, Funny) to your DP. For this, again go to Add Photos and select some texts you want to paste on your DP. Then go to Blend option and choose the mode (Multiply, Screen, Overlay) that suits to your text. I selected the mode Multiply. You can download a few texts from here. Download Texts in PNG format
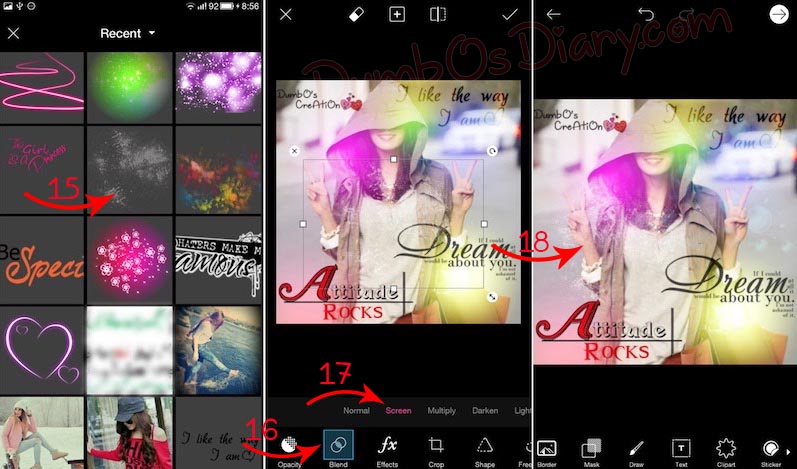
- To give your DPs more stylish look you can also add some textures to the image. I added Dusty texture effect to the image. In Step 18 you can see the dusty effect. For this, you again need to go Add Photos. Then choose the texture you want to add the image. Now go to Blend option and select Screen or Multiply option whatever you like. Here I uploaded a file of PNG Textures. You can Download it for free.
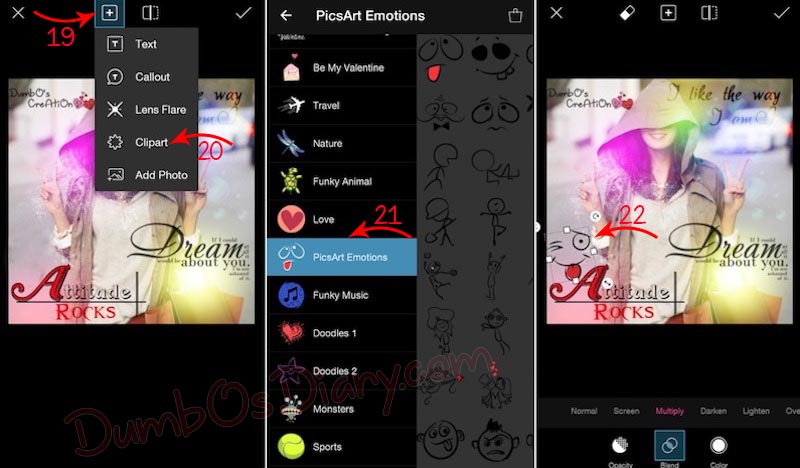
- In this PicsArt Photo editing tutorial, now I’m going to discuss ClipArt. ClipArt is another awesome option of PicsArt. There are numbers of Cliparts based on different category available on this app. I’m going to add Clipart from the category PicsArt Emotions, you can add according to your choice.
- For this step, click the + sign on the top of this app display. Then go to ClipAart. There, you can choose any category. There, you can download many more categories for free or paid as well.
- After selecting the Clipart, go to the Blend option and change the mode according to need. I chose Multiply mode.
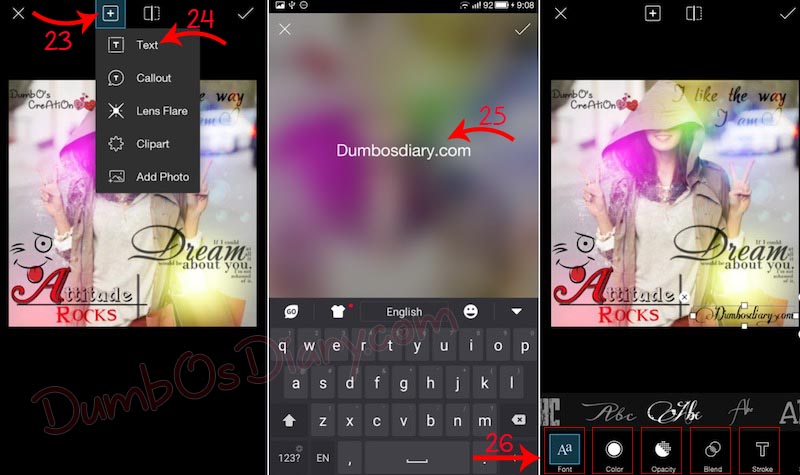
- Apart from adding your own text images, PicsArt also allows writing text option. For this, click again + sign on top of the app and click Text. Type the text what you want, then choose the options what you want. There are lots of options available for text as Font, Color, Opacity, Blend, Stroke etc.
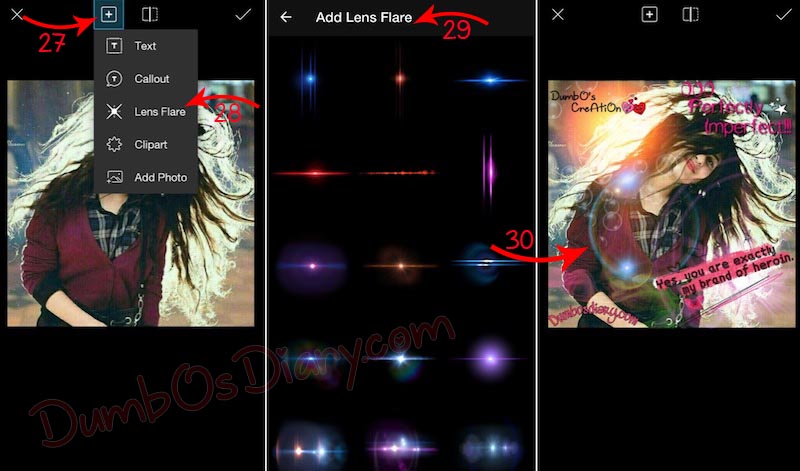
- If you don’t wanna add images of Glowing effects, can give effects via Lens Flare. Yes! It’s also another amazing option offered by PicsArt. Go to + sign and click Lens Flare. Now, choose the effect (Round, Oval, vertical lines, horizontal lines) whatever you like.
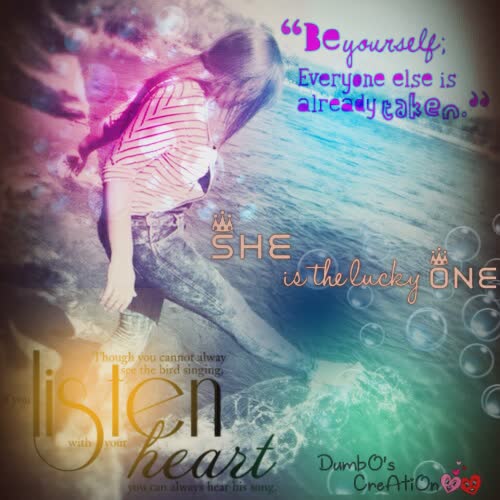
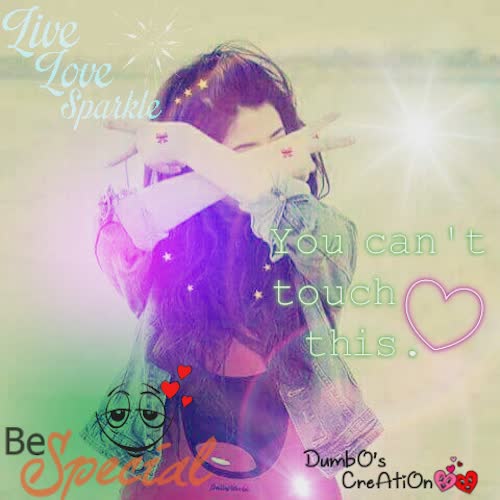
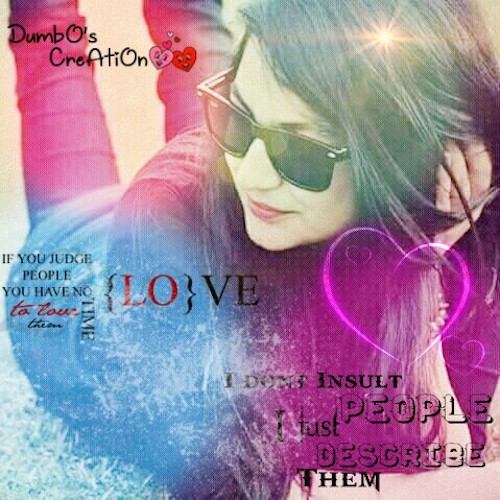
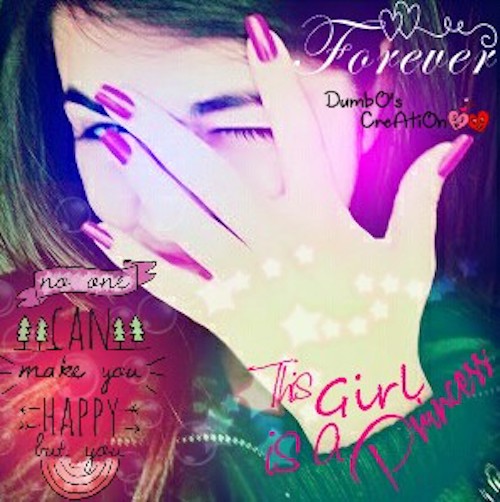
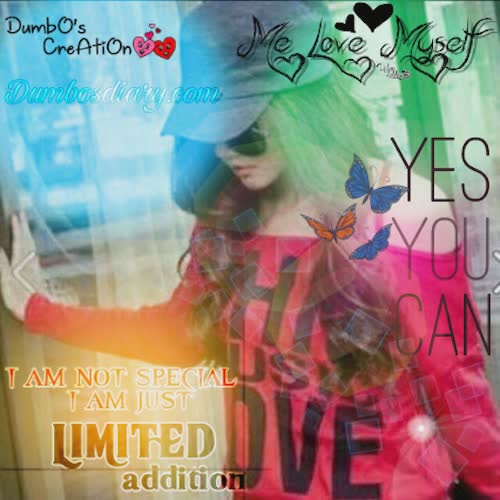
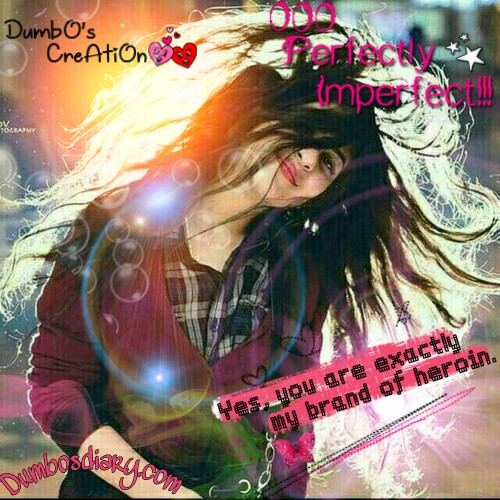
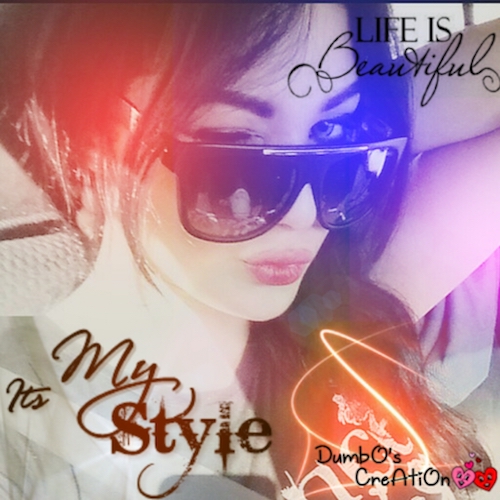
Here are few DPs I made with PicsArt.
You may also like:


